部署Hadoop服务
1、上传安装包
获取并上传安装包到<高性能版本安装目录>/smartbi_data/目录下,并解压。例如:
| 代码块 | ||
|---|---|---|
| ||
cd /data/Smartbi_All/smartbi_data/
tar -zxvf smartbi-hadoop.tar.gz |
2、执行脚本导入镜像
| 代码块 | ||
|---|---|---|
| ||
cd /data/Smartbi_All/smartbi_data/smartbi-hadoop
./load_hadoop_image.sh [Rancher服务器IP] #注意替换成Rancher服务器的内网IP地址 |
参考下图

执行完成如下图:

3、下载配置文件到本地
执行完脚本后,使用wincp或者其他工具,将目录中的Smartbi-Hadoop.yaml文件下载到本地。

4、部署Hadoop服务
浏览器登陆Rancher控制台,导入Hadoop服务

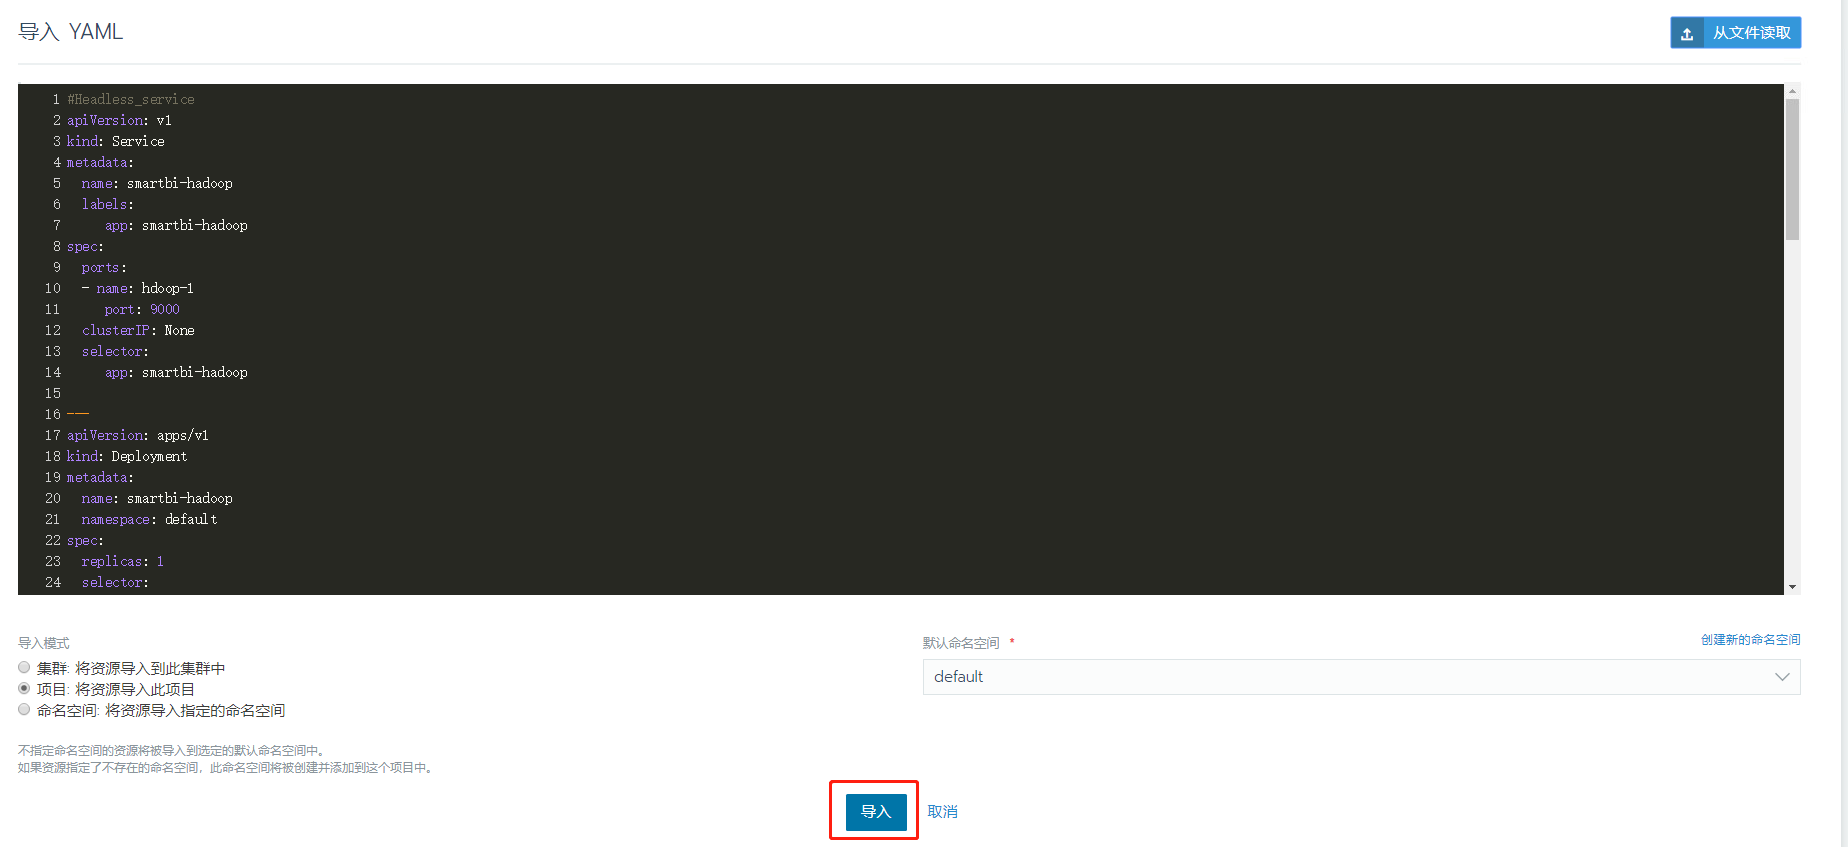
点击导入YAML,选择从文件读取

选择从服务器中下载的Smartbi-Hadoop.yaml文件

点击导入
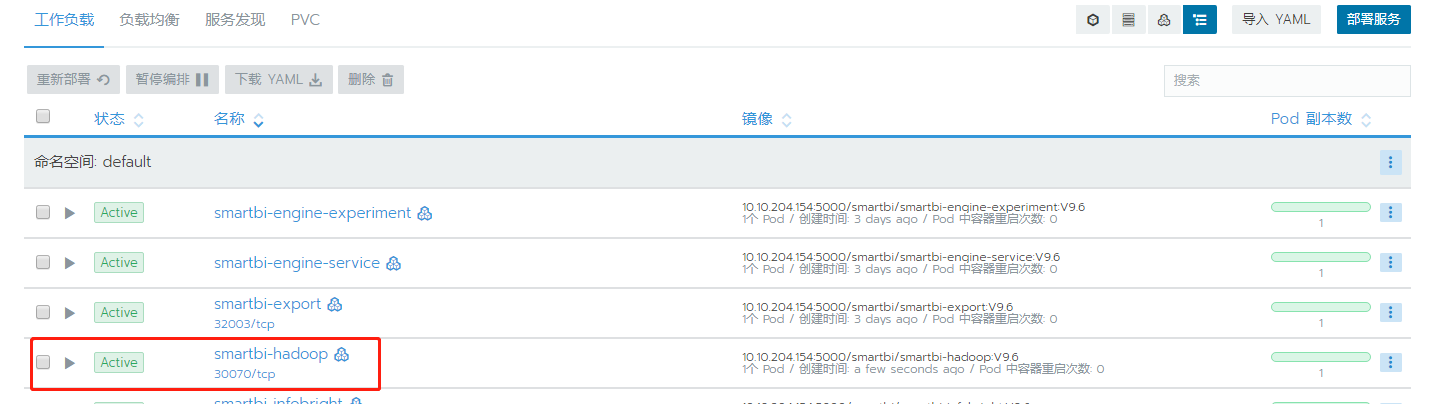
导入完成后,状态变成绿色Active即表示服务导入成功
5、测试验证Hadoop
浏览器登陆smartbi,htpp://IP:31080/smartbi
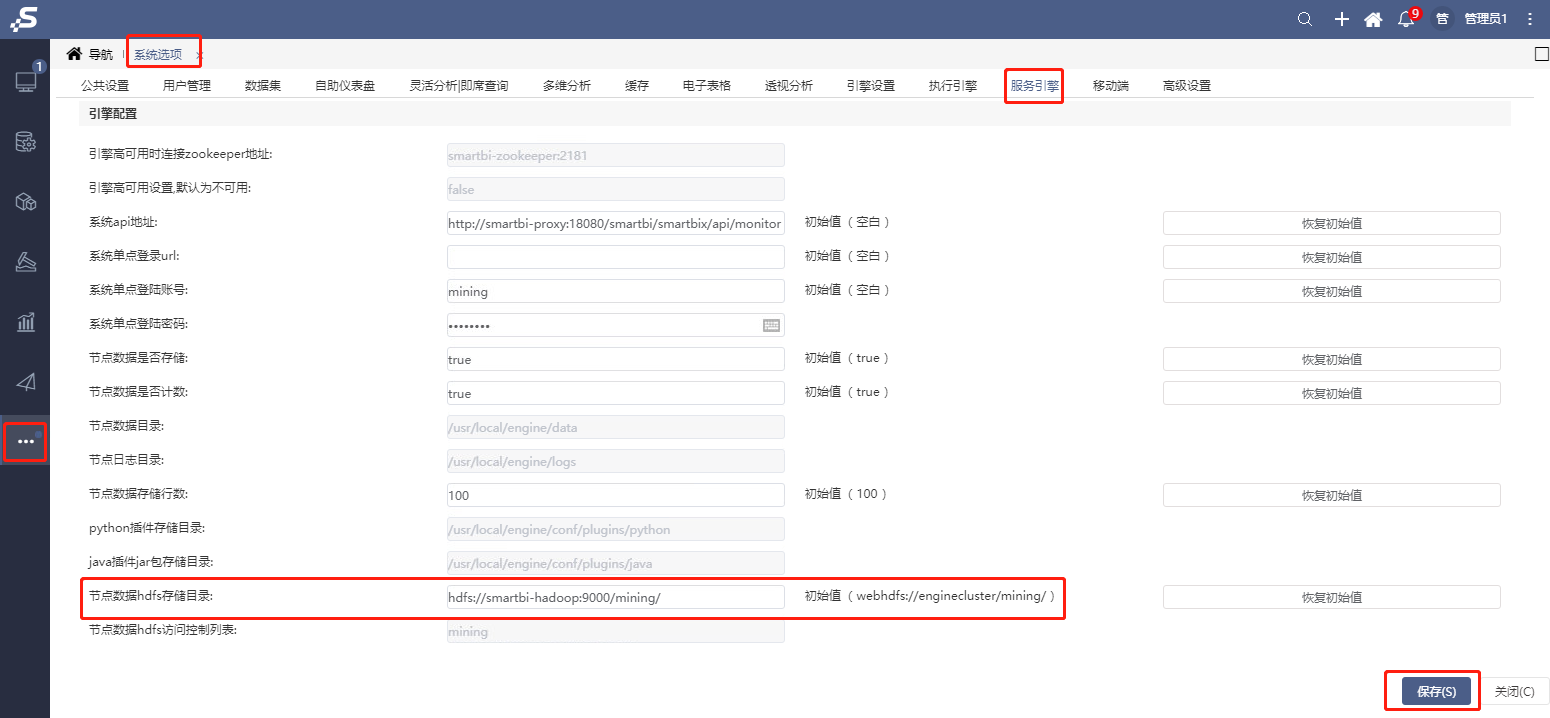
打开系统运维--系统选项–执行引擎–引擎配置,节点数据hdfs存储目录设置为hdfs://smartbi-hadoop:9000/mining/,并保存,参考下图

打开系统运维--系统选项–服务引擎,节点数据hdfs存储目录设置为hdfs://smartbi-hadoop:9000/mining/,并保存,参考下图
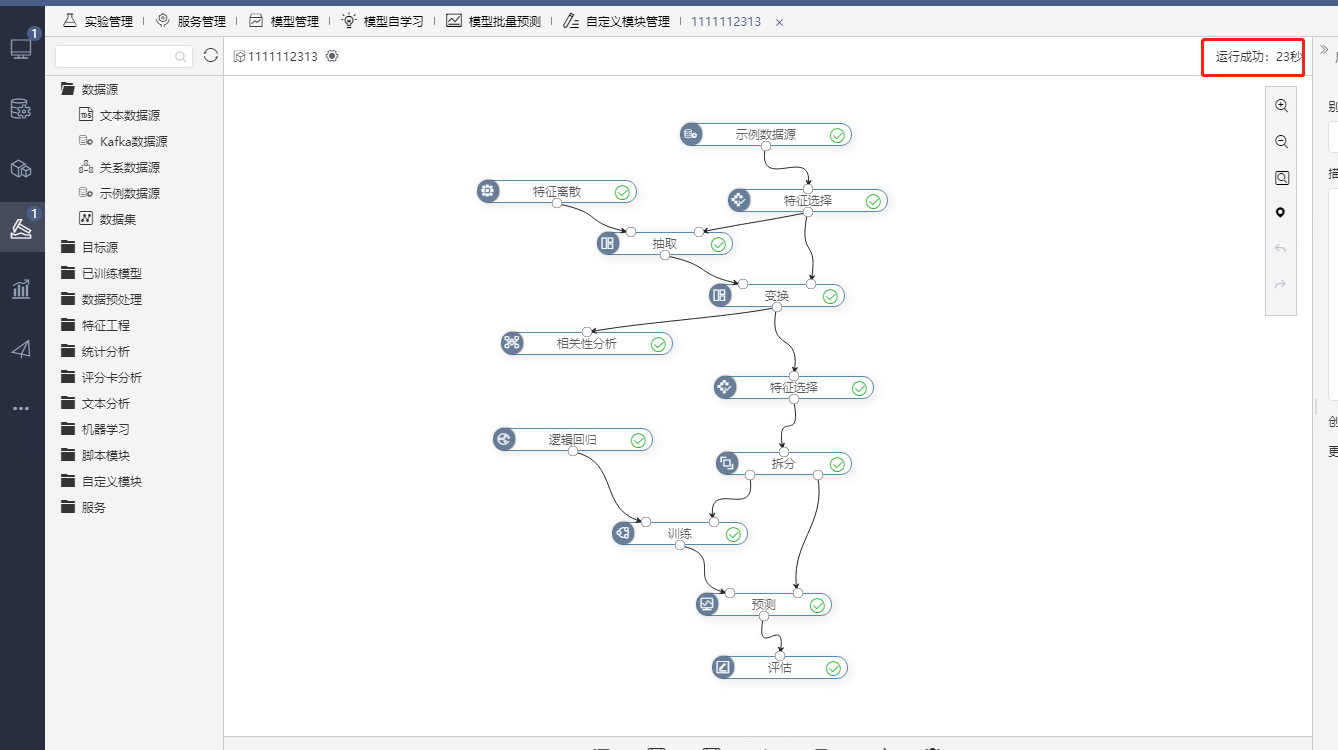
修改完成后,打开数据挖掘,选择一个案例,运行

运行成功,表示Hadoop部署成功
| 目录 |
|---|